Employee Record ID
Code
A unique code for the employee. You can use up to 20 characters.
Full Name
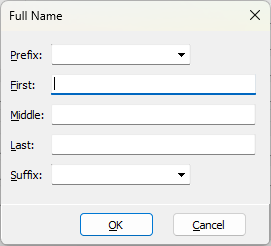
The employee's full name. Click the right arrow to open the Full Name dialog box where you can enter the name in parts.
The Full Name field and the Full Name dialog box are synced so that changes you make to one are updated to the other.
Goes By
The name the employee prefers to be called.
"Goes by" names and preferred pronouns are components of the "preferred name" columns available as the "Employee Name (Preferred)" option on any folder in Payroll/Human Resources with current references to employee name.
Pronouns
The pronouns by which the contact prefers to be addressed. You can select from the list of predefined pronouns or enter the pronouns if they are not listed. Valid options include:
- She/Her/Hers
- He/Him/His
- They/Them/Theirs
Preferred pronouns and "goes by" names are components of the "preferred name" columns available as the "Employee Name (Preferred)" option on any folder in Payroll/Human Resources with current references to employee name.
SSN
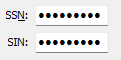
The employee's social security number. The social security number must be unique across all employees.
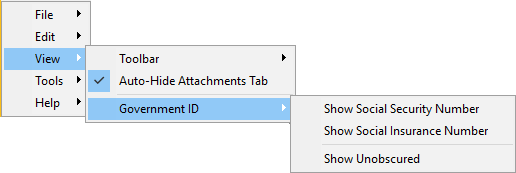
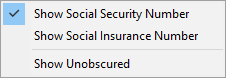
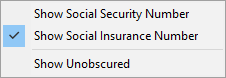
This field is visible if you have sufficient security privileges and View > Government ID > Show Social Security Number is selected.
The numbers in this field may be obscured in order to hide social security numbers from onlookers. To show the actual social security number, select View > Government ID > Show Unobscured.
SIN
The employee's social insurance number. The social insurance number must be unique across all employees.
This field is visible if you have sufficient security privileges and View > Government ID > Show Social Insurance Number is selected.
The numbers in this field may be obscured in order to hide social insurance numbers from onlookers. To show the actual social insurance number, select View > Government ID > Show Unobscured.
Employee tab
Demographics
Birth Date
The employee's birth date.
Gender
The employee's gender. Your options are:
- <blank>
- Female
- Male
- Non-Binary
Marital Status
The employee's current marital status. Your options are:
W-2 Settings
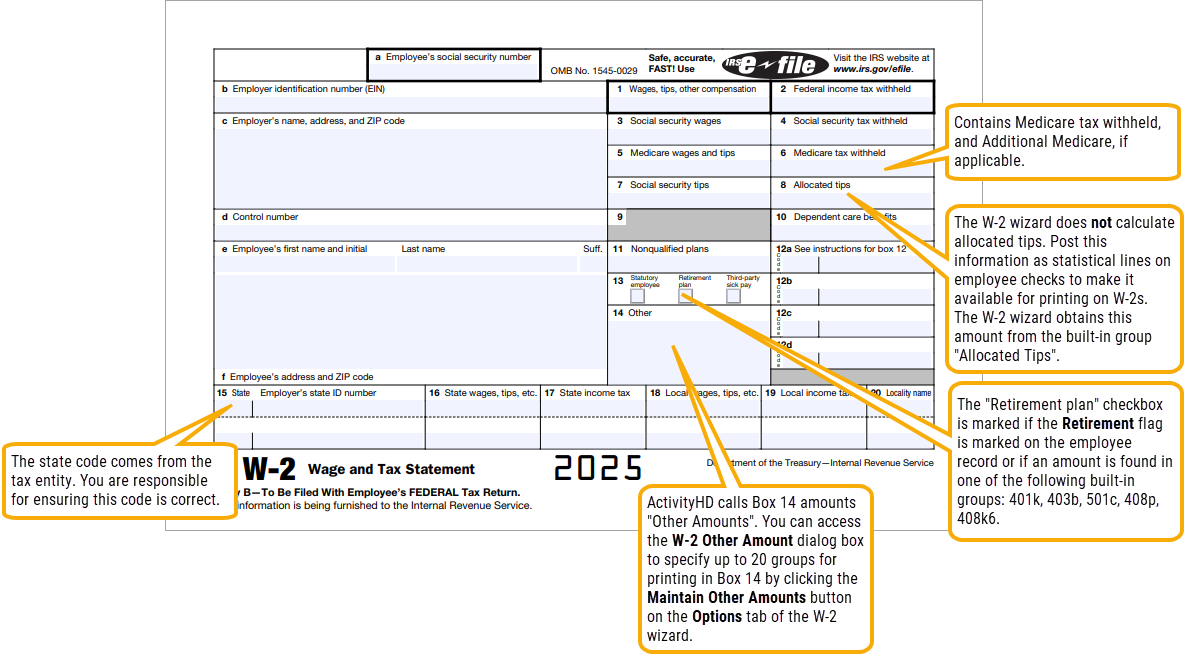
Retirement Plan
If this checkbox is marked, indicates the employee was an active participant for any part of the year in one or more of the following:
- A qualified pension, profit-sharing, or stock-bonus plan described in IRS section 401(a) (including a 401(k) plan).
- An annuity plan described in IRS section 403(a).
- An annuity contract or custodial account described in IRS section 403(b).
- A simplified employee pension (SEP) plan described in IRS section 408(k).
- A SIMPLE retirement account described in IRS section 408(p).
- A trust described in IRS section 501(c)(18).
- A plan for federal, state, or local government employees or by an agency or instrumentality thereof (other than an IRS section 457(b) plan).
Statutory Employee
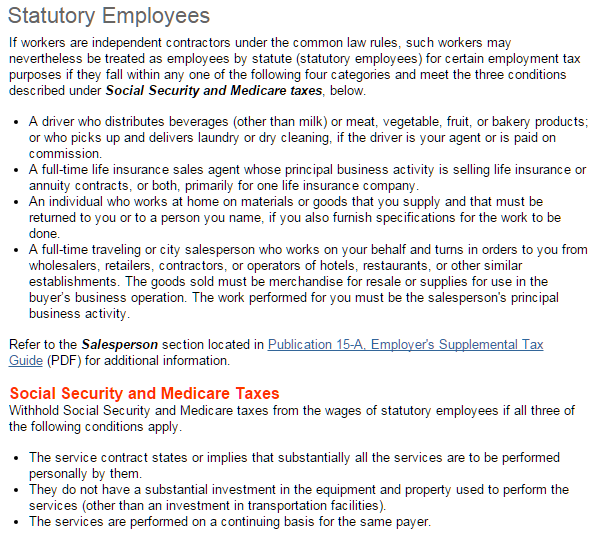
If this checkbox is marked, the "employee" is an independent contractor treated as an employee by statute for the purpose of withholding Medicare and Social Security taxes.  More...
From irs.gov:
The employee's ethnicity.
Press F3 to look up the value.
If a value is already selected, you can press F4 to open the record in its native editor.
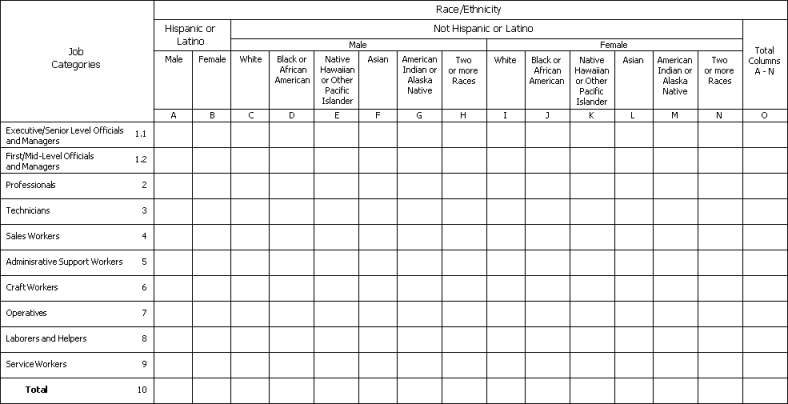
Job Category
The employee's job classification.
Press F3 to look up the value.
If a value is already selected, you can press F4 to open the record in its native editor.
Address [visible on new employee record before it is saved]
Address
The employee's address. Two lines are provided, if needed.
City, State, Zip
The city, state, and Zip Code of the employee's address.
Country
The country of the employee's address.
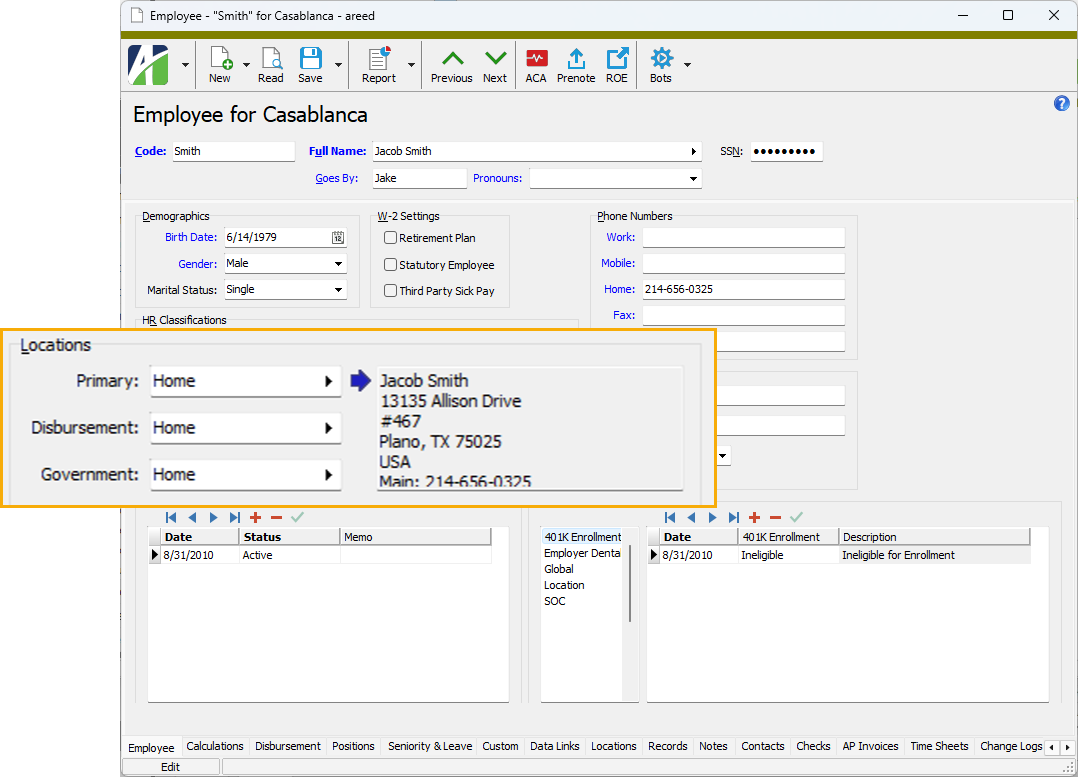
Locations [visible after an employee record is saved]
An employee's location based on the purpose of the communication. In most cases, one address is applicable for all three purposes. The text box on the right shows address information for the location which has (or last had) focus.
Primary
The employee's primary location (probably the employee's residence). The name in the address block is the employee's name in first-name-first order unless the name has been overridden on the location record.
Disbursement
The employee location for check disbursements, direct deposit prenotes, and pay statements. The name in the address block is the employee's name in first-name-first order unless the name has been overridden on the location record.
Government
The employee location for government documents such as W-2s, 1095-Cs, and ROE and T4 slips (Canada only). The name in the address block is the employee's name in first-name-first order unless the name has been overridden on the location record.
Phone Numbers
Work
The employee's work phone number.
Mobile
The employee's cell phone number.
Home
The employee's home phone number.
Fax
The employee's fax number.
Other
Another phone number for the employee.
Email
Work
The employee's work email address.
Home
The employee's home email address.
Distrib
The email address to which to distribute the employee's pay information. Your options are:
Statuses
Each row in the Statuses table represents a current, past, or future status for the employee.
Date
The date of the status.
Note
For begin-of-day statuses, the date entered here is the effective date of the status. For end-of-day statuses, the date entered here is the last day worked and the following day is the effective date of the status. To see the effect of the effective date rule on employee statuses, view the statuses in the Employee Statuses HD view with the "Effective Date Rule" and "Effective Date" columns visible.
Status
The employee's status as of the corresponding date.
Press F3 to look up the value.
If a value is already selected, you can press F4 to open the record in its native editor.
Memo
A note about the corresponding status.
Press F2 to open a pop-up box where you can easily enter long text in this field.
Attributes
The list box and the table work in coordination with each other. Highlight an attribute in the list box to see the attribute items assigned to the employee for that attribute.
Date
The effective date of the attribute item.
[Attribute Name]
The attribute item that applies to the employee as of the corresponding effective date.
Press F3 to look up the value.
If a value is already selected, you can press F4 to open the record in its native editor.
Description
Displays the description of the selected attribute item.
Calculations tab
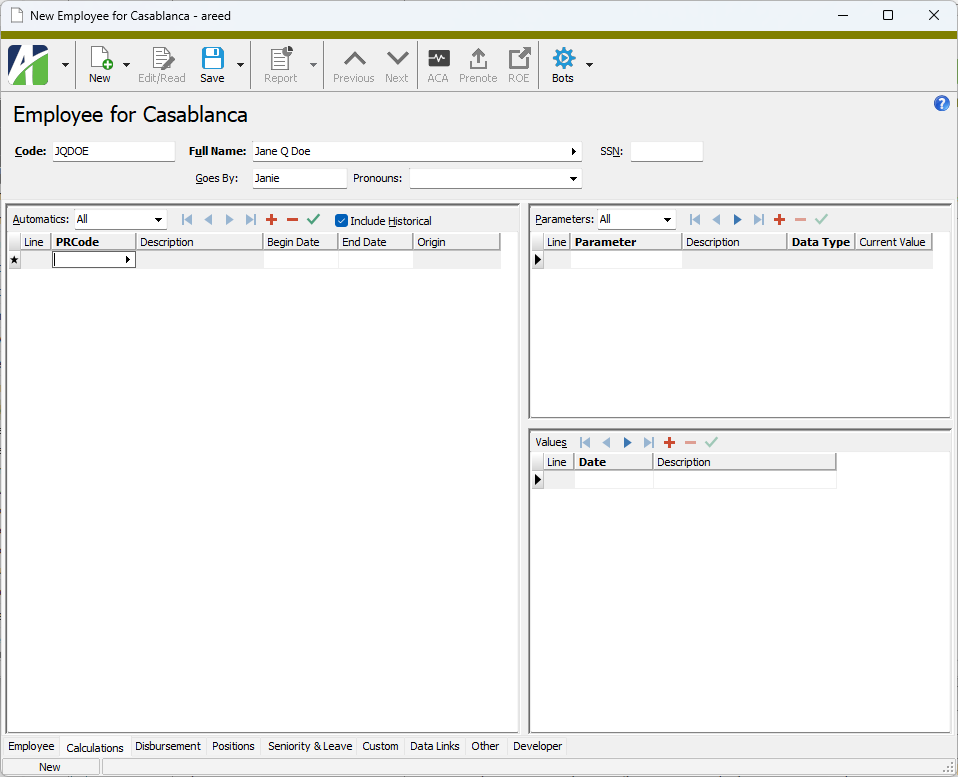
Automatics table
Tips
- Use the drop-down list above the Automatics table to filter the list of automatics by type. This setting also filters the lookup on the PRCode column by type.
- Use the Include Historical checkbox to control whether out-of-date automatics are shown in the table. If the checkbox is marked, all automatics are shown even if some have expired. Clear the checkbox to show only current automatics in the table.
Use the Automatics table to build the list of PRCodes which are normally used to calculate the employee's pay checks.
PRCode
A PRCode regularly included for the employee when processing pay checks.
This field is disabled for PRCodes which represent garnishments.
Press F3 to look up the value.
If a value is already selected, you can press F4 to open the record in its native editor.
Tip
The Find dialog supports selecting multiple PRCodes at a time. This allows you to add several automatics to the table in a single find action. Use Ctrl and/or Shift selection to select multiple PRCodes.
Description
Displays the description of the selected PRCode.
Begin Date
The earliest date to use the PRCode on pay checks. If the PRCode is in effect immediately, you can leave this cell blank.
For garnishments, this field displays the start date of the garnishment.
End Date
The latest date to use the PRCode on pay checks. You can leave this cell blank if you do not know when the PRCode will expire or if the PRCode is in effect indefinitely.
Note
Begin and end dates allow you to set up PRCodes in advance and to expire old PRCodes when needed.
For garnishments, this field displays the stop date of the garnishment.
Origin
Indicates the record number of the garnishment associated with the automatic. This column applies to garnishments only.
Press F3 to look up the value.
If a value is already selected, you can press F4 to open the record in its native editor.
Parameters table
Tip
Use the drop-down list above the Parameters table to filter the list of parameters by type. If you select the "Automatics" option, the Parameters table shows the parameters associated with the automatic that is currently selected in the Automatics table. If you select "All", the Parameters table shows all parameters currently associated with the employee.
"All" is the initial default selection for the filter. Thereafter, the filter remembers the last filter value used.
The Parameters table contains the parameters needed to calculate an employee's check lines. Parameters are declared on segment items.
The Parameters table and the Values table work in coordination with one another. Select a row in the Parameters table to view or add values for the selected parameter in the Values table.
Parameter
This column shows the parameters needed for the employee's pay calculations that correspond to the category currently selected in the drop-down list above the table. Parameters represent variable values such as salary, base rate, and 401(k) percentage. If you need to add a parameter, add a blank row to the table and then select the parameter.
Press F3 to look up the value.
If a value is already selected, you can press F4 to open the record in its native editor.
Description
The description of the corresponding parameter.
Data Type
The data type of the corresponding parameter. Valid types include:
- Date
- Number
- String
- True/False
Current Value
The current value of the corresponding parameter. When a parameter is selected in this table, this value corresponds to the parameter value in the Values table that is currently in effect.
Values table
The Values table shows past and current values assigned to parameters for an employee. Only the value currently in effect for a parameter is used in check calculations. This means that you can add values in advance with future effective dates and ActivityHD will not use them until it's time.
The Parameters table and the Values table work in coordination with one another. Select a row in the Parameters table so you can view or add values for the selected parameter in the Values table.
Date
The effective date of the parameter value.
Value
The parameter value as of the effective date.
Description
A description of the parameter value.
Note
Parameters are declared on segment items but values for parameters can be entered on the segment item or on the employee record. If both the segment item and employee have a current value for a particular parameter, the value on the employee record takes precedence.
Disbursement tab
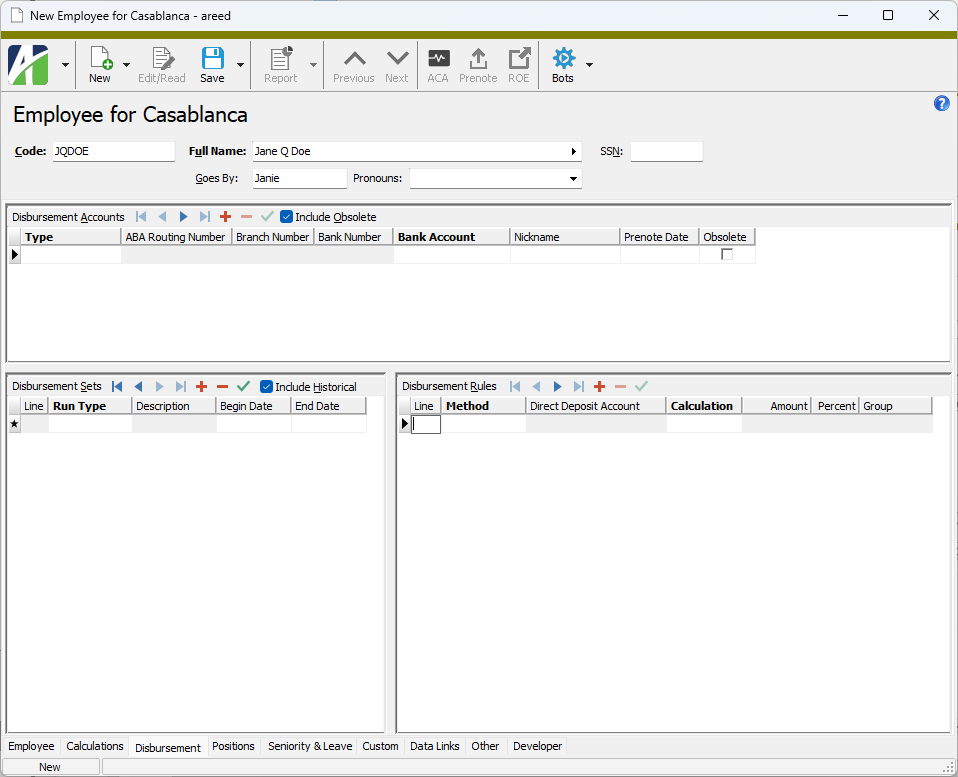
Use this tab to record an employee's bank account information if he/she is paid by direct deposit, to specify the payroll run type the employee's pay is processed in, and to indicate how to disburse the employee's check.
Disbursement Accounts table
Tip
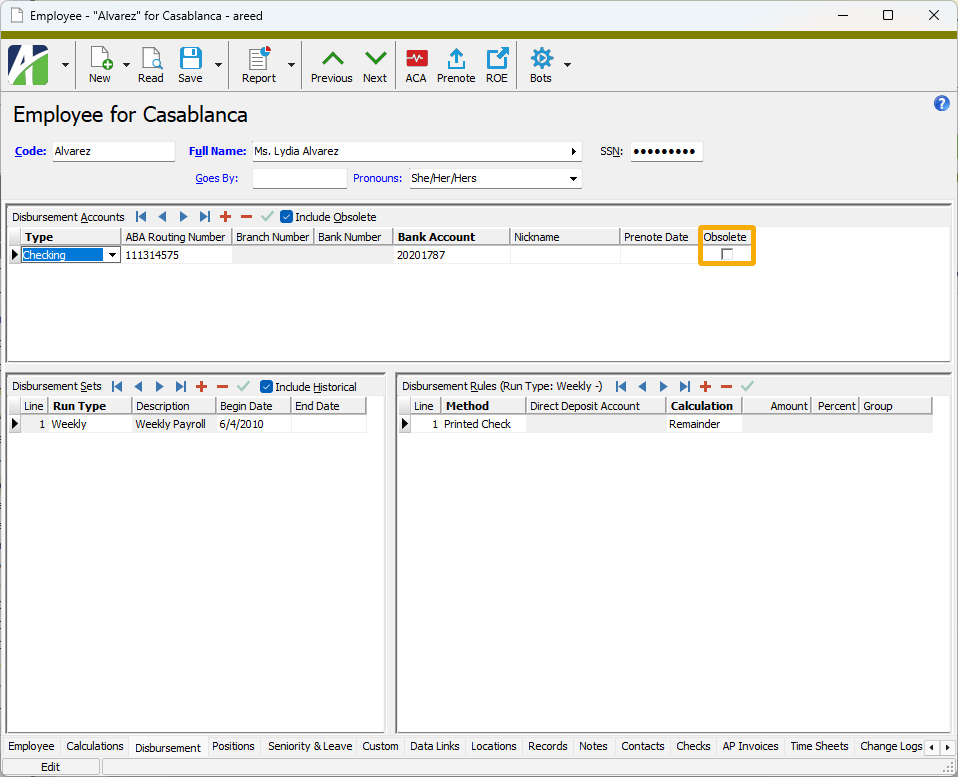
Use the Include Obsolete checkbox to control whether out-of-use disbursement accounts are shown in the table. If the checkbox is marked, all disbursement accounts for the employee are shown even if some are not in use. Clear the checkbox to show only current disbursement accounts for the employee in the table.
Use the Disbursement Accounts table to add the direct deposit account(s) to which the employee wants some or all of his/her pay deposited. If the employee does not participate in direct deposit, leave this table empty.
Type
The type of bank account to which to disburse the employee's pay. Your options are:
- Checking
- EFT Canadian
- Savings
ABA Routing Number
The routing number of the employee's bank.
This field is disabled if you selected "EFT Canadian" in the Type cell.
Branch Number
The 5-digit code that identifies the bank branch.
This field is enabled if you selected "EFT Canadian" in the Type cell.
Bank Number
The 3-digit code that identifies the financial institution.
This field is enabled if you selected "EFT Canadian" in the Type cell.
Bank Account
The employee's account number with the bank.
Nickname
A short nickname for the account.
Prenote Date
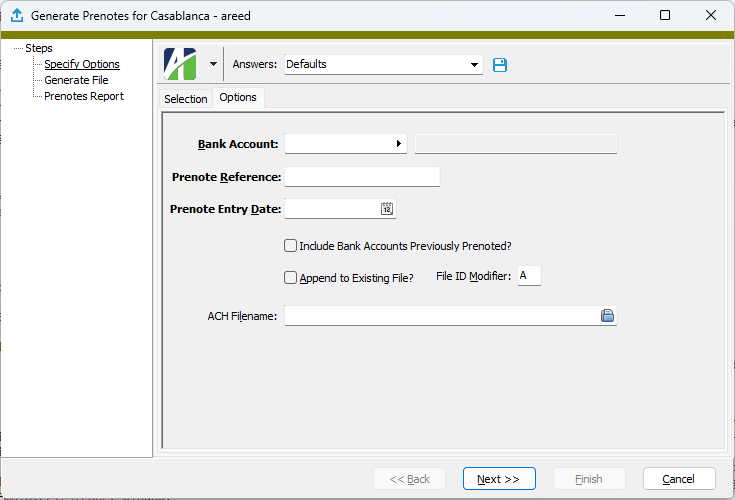
If you want to include the account in a prenote file for verifying that EFT information is correct before sending live transactions to the account, leave this cell blank. ActivityHD maintains this date when you generate and submit prenotes.
If you want to skip prenoting, enter a date in this column.
Obsolete
Mark this checkbox to flag the corresponding disbursement account as obsolete. Use this option to stop using the disbursement account. If the Include Obsolete checkbox in the header of the Disbursement Accounts table is marked, obsolete disbursement accounts are visible in the table. If the Include Obsolete checkbox is cleared, obsolete accounts are hidden.
When an account is flagged as obsolete, the account is not available in the following places where a bank account is prompted for:
Disbursement Sets table
Tip
Use the Include Historical checkbox to control whether out-of-date disbursement sets are shown in the table. If the checkbox is marked, all disbursement sets for the employee are shown even if some have expired. Clear the checkbox to show only current disbursement sets for the employee in the table.
The Disbursement Sets table shows the run types assigned to the employee. Run types determine which rules are applied for the employee when a payroll run is processed. If a run type on the disbursement set matches the payroll run type being processed and the check date falls in the valid date range for the disbursement set, the corresponding disbursement rules are applied.
Because disbursement sets are date-driven, you can set them up in advance. The disbursement set is not applied until the check date for a payroll run falls within the valid date range for the disbursement set. If you designate an end date for a disbursement set, the disbursement set will expire as of that date.
The Disbursement Sets table and the Disbursement Rules table work in coordination with one another. When a run type is selected in the Disbursement Sets table, the disbursement rules for that run type are loaded in the Disbursement Rules table.
Run Type
The run type assigned to the employee.
Press F3 to look up the value.
If a value is already selected, you can press F4 to open the record in its native editor.
Description
Displays the description of the corresponding run type.
Begin Date
The earliest date that the run type is valid for the employee. If the run type is valid now, you can leave this cell blank.
End Date
The date the run type expires for the employee. If the run type should remain in effect indefinitely, you can leave this cell blank.
Disbursement Rules table
Disbursement rules determine how an employee's pay check is disbursed.
Tip
Line numbers in the Disbursement Rules table are editable. You can change the line numbers in order to reorder the rows in the table.
Method
The disbursement method for the employee's pay. Your options are:
- Direct Deposit. This option is only available if disbursement accounts have been set up for the employee and the account type is "Checking" or "Savings".
- EFT Canadian. This option is only available if disbursement accounts have been set up for the employee and the account type is "EFT Canadian".
- Printed Check
Direct Deposit Account
This option is enabled if you selected "Direct Deposit" or "EFT Canadian" in the Method cell. If only one direct deposit account is set up, this field defaults to that account. If multiple direct deposit accounts are set up, select the appropriate account from the drop-down list.
The direct deposit account displays in the following format: <routing number> : <account number> : <account type indicator: Checking or Savings>.
Calculation
The calculation to use to determine the amount to disburse by the selected method. Your options are:
- Amount
- Percent
- Group. Disburse an amount equal to the total result of the check lines in a check line group you specify.
Remainder. Disburse any amount left after other disbursement rules (if any) are applied by the corresponding method.
Notes
The last disbursement for every disbursement set must be a remainder-type calculation.
If all pay is to be disbursed according to one rule, you must use a remainder-type calculation.
Deduction. A deduction disbursement is an employee-specific payment for a deduction or tax that was made on the check. A deduction disbursement credits the GL bank account but debits the original deduction line's liability account (instead of the check's payroll liability account).
Example
You can use deduction disbursements to create Health Savings Account (HSA) deposits for an employee without including the HSA amount in net pay.
Amount
This cell is enabled if "Amount" is selected from the Calculation drop-down list. The flat amount to disburse by the selected method.
Percent
This cell is enabled if "Percent" is selected from the Calculation drop-down list. The percentage of pay to disburse by the selected method.
Group
This cell is enabled if "Group" or "Deduction" is selected from the Calculation drop-down list. The check line group used to determine the disbursement amount. The amount of the disbursement equals the total result for the check lines in the group you select.
Press F3 to look up the value.
If a value is already selected, you can press F4 to open the record in its native editor.
Positions tab
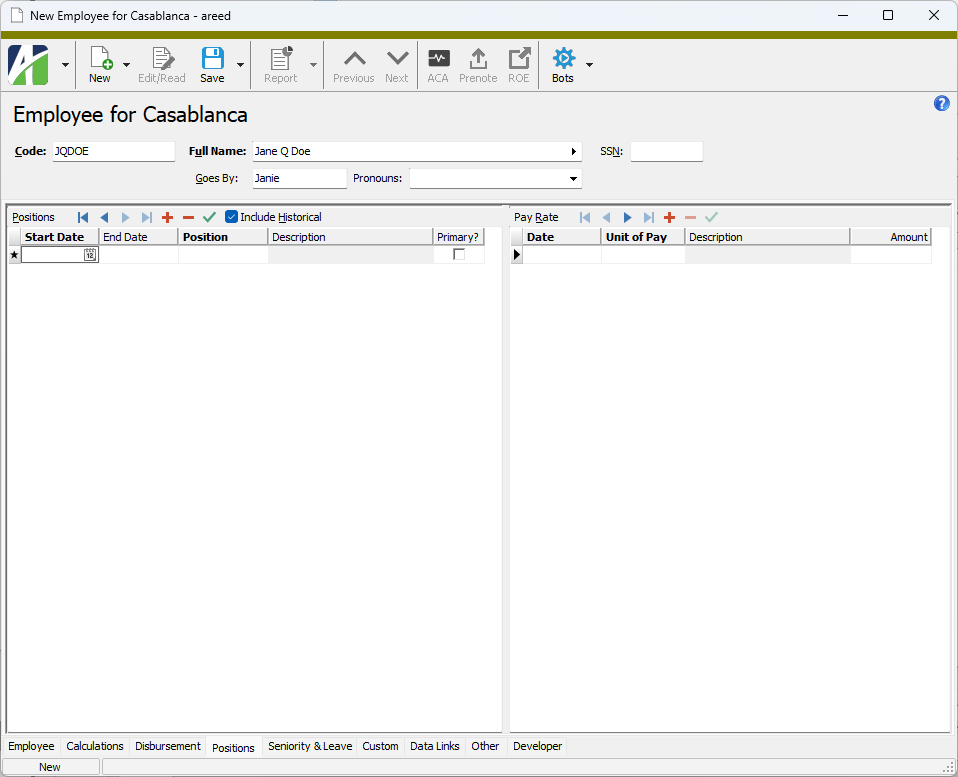
Positions table
Tip
Use the Include Historical checkbox to control whether out-of-date positions are shown in the table. If the checkbox is marked, all positions for the employee are shown even if some have expired. Clear the checkbox to show only current positions for the employee in the table.
Use the Positions table to assign positions to an employee. If you use positions, you can define the pay rate that applies to the position in the Pay Rate table.
Note
Rows in the Positions table are sorted using the following criteria:
- Unexpired positions (blank ending dates first)
- Start date (newest to oldest)
- Primary indicator (primary position first)
- Position code
The Positions table and the Pay Rate table work in coordination with one another. The pay rates that show in the Pay Rate table correspond to the position that is currently selected in the Positions table.
Start Date
The date the employee started in the position.
End Date
If the employee's term in the position has ended or you know when it will end, the last date in the position.
Position
The employee's position for the corresponding range of dates.
Press F3 to look up the value.
If a value is already selected, you can press F4 to open the record in its native editor.
Description
The description of the selected position.
Primary?
Mark this checkbox if this position is considered the employee's primary position. If the employee has only one current position, that is the primary position. If the employee has multiple current positions, designate one of the positions as the primary position. The primary position is used on employment reports and is also used to supply values to check calculations when a PRCode has no position assigned to it.
Memo
Additional information captured about the position for the current employee.
Pay Rate table
Use the Pay Rate table to track current and historical pay rates for the positions in the Positions table.
The Positions table and the Pay Rate table work in coordination with one another. The Pay Rate table shows the pay rates for the position that is currently selected in the Positions table.
Date
The effective date of the pay rate.
Unit of Pay
The unit of pay that pay for the position is based on.
Press F3 to look up the value.
If a value is already selected, you can press F4 to open the record in its native editor.
Description
The description of the selected unit of pay.
Amount
The amount of pay per unit of pay.
Examples
If the unit of pay is "Hourly", enter the employee's hourly rate.
If the unit of pay is "Salary", enter the employee's annual salary.
Memo
Additional information captured about the pay rate for the current employee.
Seniority & Leave tab
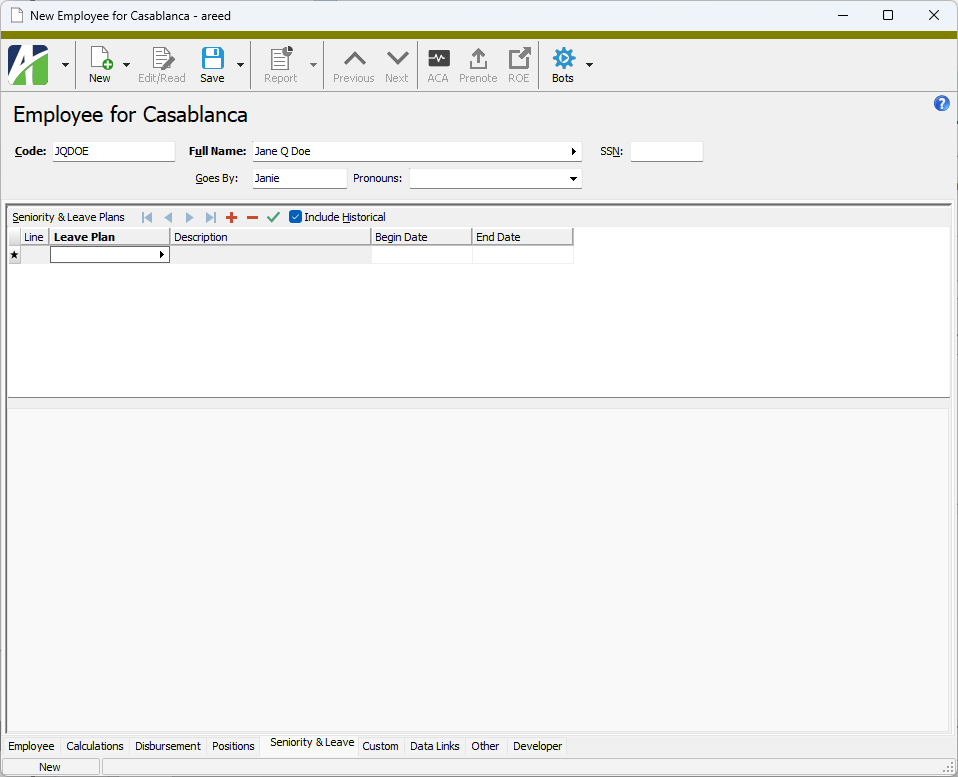
Seniority & Leave Plans table
Tip
Use the Include Historical checkbox to control whether out-of-date leave plans are shown in the table. If the checkbox is marked, all leave plans for the employee are shown even if some have expired. Clear the checkbox to show only current leave plans for the employee in the table.
Use the Seniority & Leave Plans table to assign leave plans to an employee.
Leave Plan
The leave plan assigned to the employee.
Press F3 to look up the value.
If a value is already selected, you can press F4 to open the record in its native editor.
Description
Displays the description of the selected leave plan.
Begin Date
The date the leave plan takes effect. If the leave plan is already in effect, you can leave this cell blank.
End Date
The date the leave plan expires, if you know it. If the leave plan is in effect indefinitely, you can leave this cell blank.
Leave Balances subtab
The Leave Balances tab contains the HD view for the Leave Balances folder filtered to show results for the selected employee.
Leave Entries subtab
The Leave Entries tab contains the HD view for the Leave Entries folder filtered to show leave entries for the selected employee.
Double-click a row in the pane to drill down to its record in the Seniority & Leave Entry window.
Custom tab
This tab is visible if custom fields exist for the entity. At a minimum, if there are custom fields, a Fields subtab will be present. One or more additional categories of subtabs may also be visible.
Fields subtab
This tab prompts for values for any custom fields set up for entity records of this entity type. Respond to the prompts as appropriate.
References subtab
This tab is visible if other records reference the current record.
Reference
From the drop-down list, select the custom field to view references for. Reference custom fields have the following format: PackageName.EntityName.CustomFieldName.
Example
Suppose a custom field exists on PRCodes that references an ARCode. On the ARCode record, on the Custom > References subtab, you can view all the PRCodes which reference that ARCode.
Exchange Folder subtab
This tab is visible only if you set up a custom field with a data type of "Exchange Folder". The label on this tab is the name assigned to the custom field.
This tab shows the contents of the specified Exchange folder.
File subtab
This tab is visible only if you set up a custom field with a data type of "File". The label on the tab is the name assigned to the custom field.
This tab renders the contents of the specified file according to its file type.
Internet Address subtab
This tab is visible only if you set up a custom field with a data type of "Internet Address". The label on this tab is the name assigned to the custom field.
This tab shows the contents of the specified web page.
Network Folder subtab
This tab is visible only if you set up a custom field with a data type of "Network Folder". The label on this tab is the name assigned to the custom field.
This tab shows the contents of the specified network folder.
Data Links tab
See "Data Links".
Records tab
Records subtab
The Records pane shows the Records HD view filtered to show all records for the selected employee.
Double-click a row in the pane to drill down to its record in the Record window.
1095-Cs subtab
The 1095-Cs pane shows the 1095-Cs HD view filtered to show all 1095-Cs for the selected employee.
Double-click a row in the pane to drill down to its record in the 1095-C window.
ACA subtab
The ACA Records pane shows the ACA Records HD view filtered to show all ACA records for the selected employee.
Double-click a row in the pane to drill down to its record in the ACA Record window.
Garnishments subtab
The Garnishments pane shows the Garnishments HD view filtered to show all garnishment records for the selected employee.
Double-click a row in the pane to drill down to its record in the Garnishment window.
I-9s subtab
The I-9s pane shows the I9s HD view filtered to show all I-9 records for the selected employee.
Double-click a row in the pane to drill down to its record in the I-9 window.
Insurance Coverage stubtab
The Insurance Coverage pane shows the Insurance Coverage HD view filtered to show all insurance coverage records for the selected employee.
Double-click a row in the pane to drill down to its record in the Insurance Coverage window.
T4s subtab
The T4s pane shows the T4s HD view filtered to show all T4 records for the selected employee.
Double-click a row in the pane to drill down to its record in the T4 window.
W-2s subtab
The W-2s pane shows the W-2s HD view filtered to show all W-2 records for the selected employee.
Double-click a row in the pane to drill down to its record in the W-2 window.
W-4s subtab
The W-4s pane shows the W-4s HD view filtered to show all W-4 records for the selected employee.
Double-click a row in the pane to drill down to its record in the W-4 window.
State W-4s subtab
The State W-4s pane shows the State W-4s HD view filtered to show all state W-4 records for the selected employee.
Double-click a row in the pane to drill down to its record in the State W-4 window.
Notes tab
The Notes pane shows the Notes HD view filtered to show all notes for the selected employee.
Double-click a row in the pane to drill down to its record in the Note window.
Contacts tab
The Contacts pane shows the Contacts HD view filtered to show all contacts for the selected employee.
Double-click a row in the pane to drill down to its record in the Contact window.
Checks tab
Checks tab
The Checks subtab shows the Checks HD view filtered to show all checks for the selected employee.
Double-click a row in the pane to drill down to its record in the Check window.
Check Lines tab
The Check Lines subtab shows the Check Lines HD view filtered to show all check lines for the selected employee.
Double-click a row in the pane to drill down to its record in the Check Line window.
Distributions tab
The Distributions subtab shows the Distributions HD view filtered to show all distributions for the selected employee.
Double-click a row in the pane to drill down to its record in the Check Distribution window.
Disbursements tab
The Disbursements subtab shows the Disbursements HD view filtered to show all disbursements for the selected employee.
Double-click a row in the pane to drill down to its record in the Check Disbursement window.
AP Invoices tab
The AP Invoices pane shows the AP Invoices HD view in Accounts Payable filtered to show all AP invoices for the selected employee.
Double-click a row in the pane to drill down to its record in the AP Invoice window.
Time Sheets tab
The Time Sheets pane shows the Time Sheets HD view filtered to show all time sheets for the selected employee.
Double-click a row in the pane to drill down to its record in the Time Sheet window.
The Attachments tab is visible if any record for a given entity has an attachment. If the Attachments tab is not visible, this implies that no record of the entity type has an attachment on it; however, once an attachment is added to any record of the entity type, the Attachments tab will become available.
Attachments
The list box shows the files which are attached to the current record. Highlight a file name to preview the file in the adjacent pane. Double-click a file name to open the file in its native editor.
Preview pane
If a file name is highlighted in the Attachments list box, this pane shows a preview of the file contents. Some file types cannot be previewed but can be double-clicked to open in their native editor.
Change Logs tab
This tab is visible if the user has "Change Logs" access to the associated data folder resource.
The Change Logs pane shows the Change Logs HD view filtered to show all change logs for the selected entity record.
Double-click a row in the pane to drill down to its record in the Change Log window.
Other tab
Memo tab
To include additional information about this record not collected elsewhere, enter it in this text box. This area supports common keyboard shortcuts such as Ctrl+C to copy and Ctrl+V to paste.
Timestamps tab
This tab shows the user who created this record and the date and time of creation as well as the user, date, and time of the latest modification to the record.
Changes tab(s)
This tab shows the history of changes to the current record or to some aspect of the current record.
Administrators can manage which changes are tracked by activating or inactivating change logs in the Administration > Setup > Change Logs folder.
Developer tab
This tab is visible only when developer features are enabled.
Automation subtab
This subtab shows field names and values for the current data record. Use the information in the subtab to assist when creating automation objects such as bots and import files. The field names and field values can be copied from the text box and pasted directly into your code or application. To copy content from the text box, highlight the content to copy and press Ctrl+C or right-click your selection and select Copy from the context menu.
Export (XML | JSON) subtab
This subtab shows the XML syntax for exporting the selected data record. The syntax can be copied from the text box as an exemplar for creating your own automation objects for bots, import files, ActivWebAPI, etc. To copy content from the text box, highlight the content to copy and press Ctrl+C or right-click your selection and select Copy from the context menu.
Import (XML | JSON) subtab
This subtab allows you to select a file for import and shows the XML syntax for importing data records. Use the subtab to explore the XML syntax for importing data records. In particular, you can investigate the syntax which results when using Data.Import and ActivWebAPI data POST and DELETE routes.
Change Log (XML | JSON) subtab
This subtab is visible only when the Enable Change Logs option is marked in System Options or Company Options (depending on whether the feature applies at the system or the company level). This is the default setting when developer features are enabled.
This subtab allows you to investigate changes to the current data record. The syntax can be copied for use in bots, dashboards, ActivWebAPI, and other automation. To copy content from the text box, highlight the content to copy and press Ctrl+C or right-click your selection and select Copy from the context menu.
Select Statement (SQL) subtab
This subtab allows you to investigate the SQL select statement used to retrieve the current data record. The syntax can be copied as an exemplar for data sources and other automation. To copy content from the text box, highlight the content to copy and press Ctrl+C or right-click your selection and select Copy from the context menu.
 . The New Employee window opens.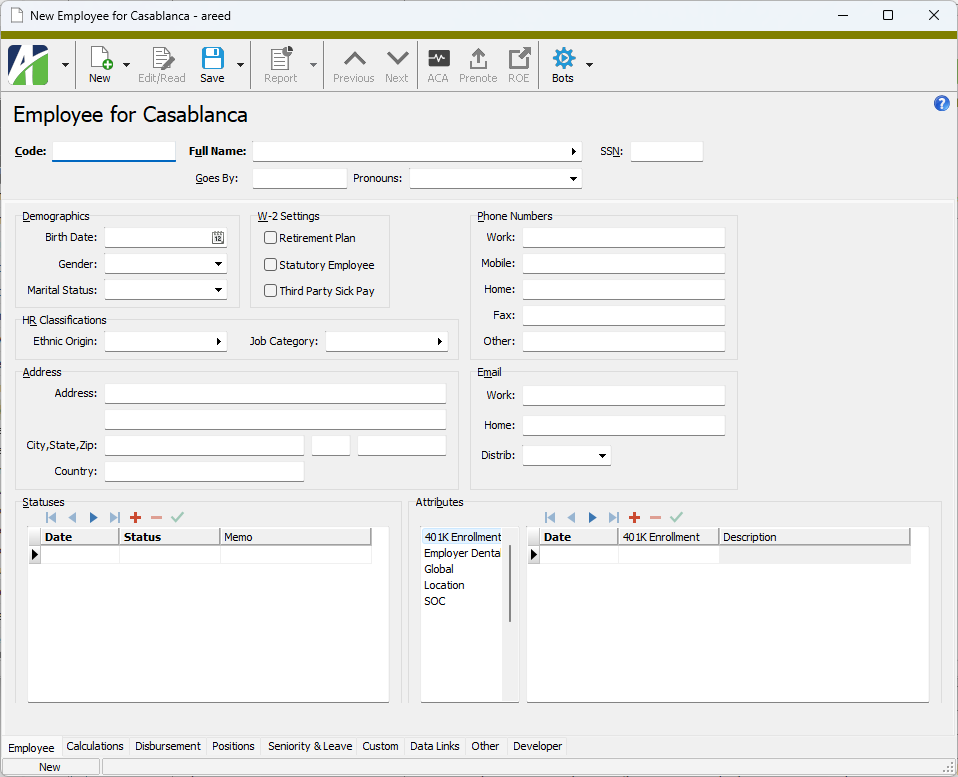
 .
.
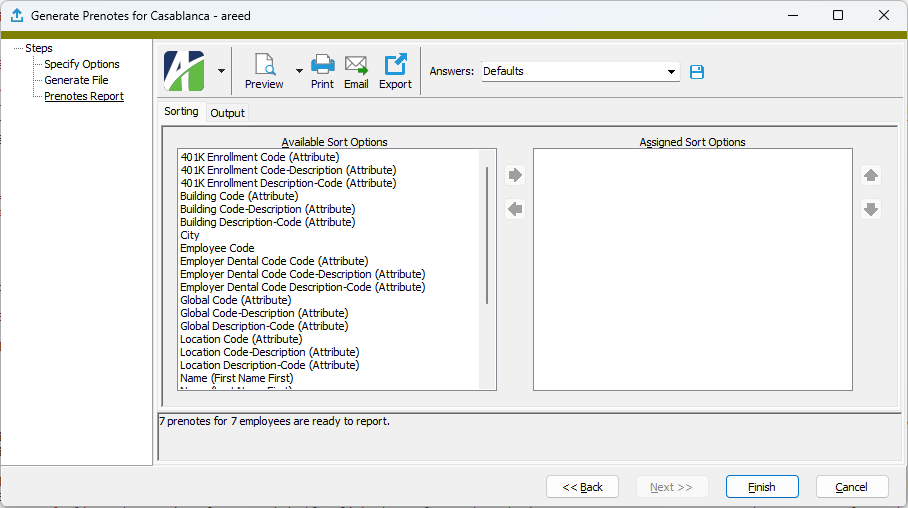
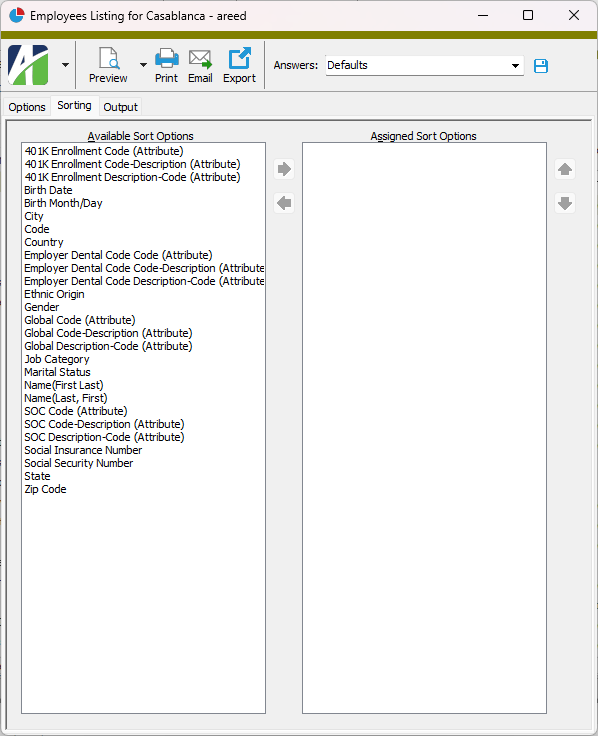
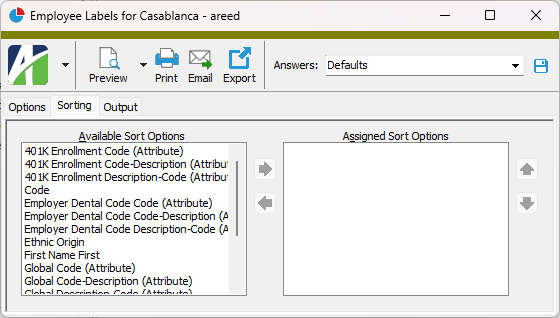
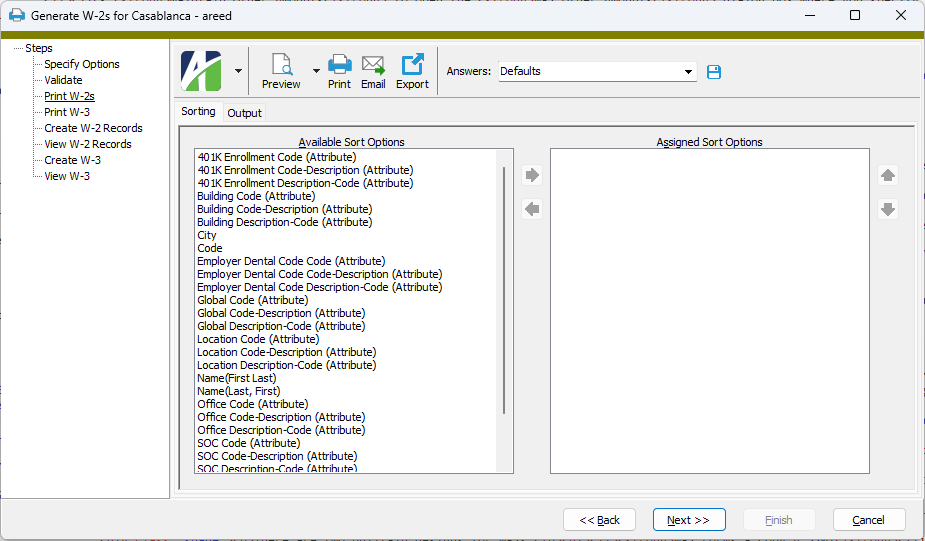
 to move your selection(s) to the Assigned Sort Options list box.
 and
and  to arrange the sort fields in the order you want them applied.
 - Provides access to two preview options.
 - Opens the Print dialog so that you can select and configure a printer and then print a paper copy of the report.
 - Opens the
  - Opens a drop-down menu with two export options: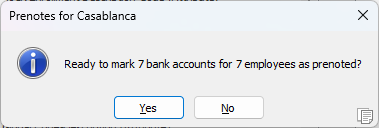
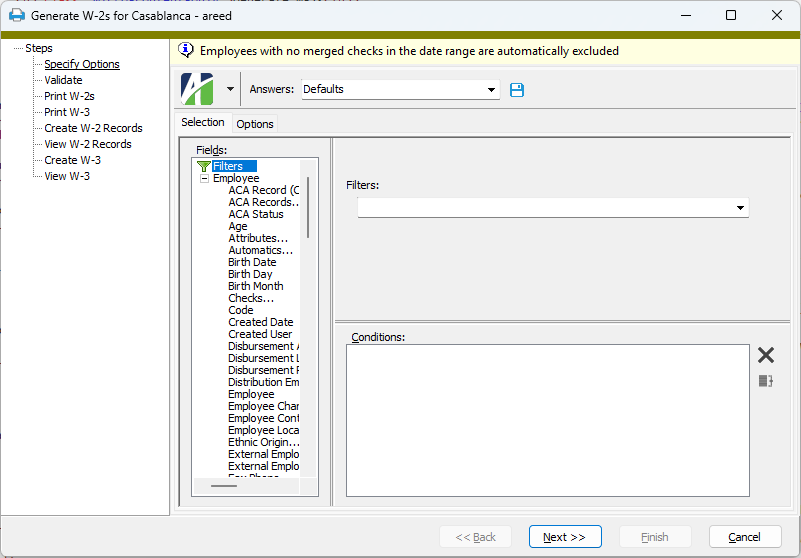
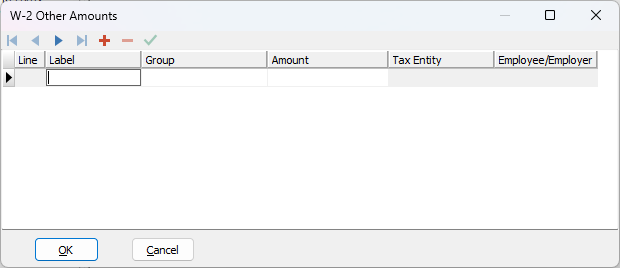
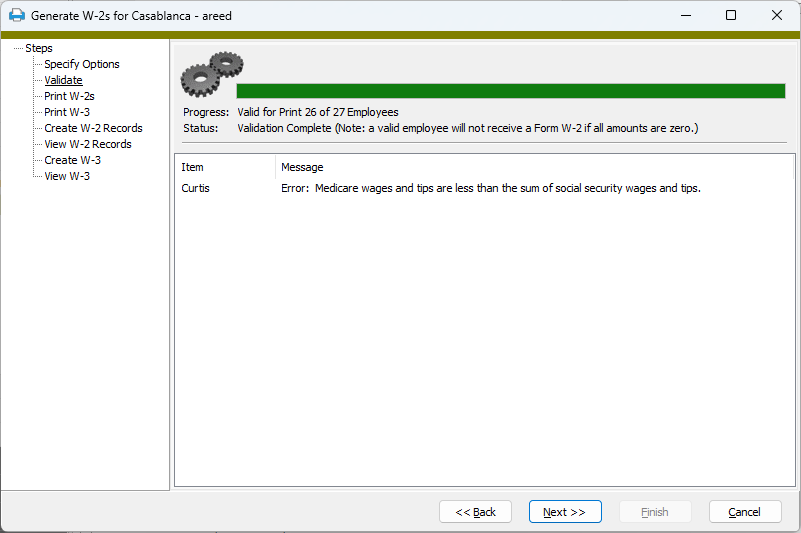
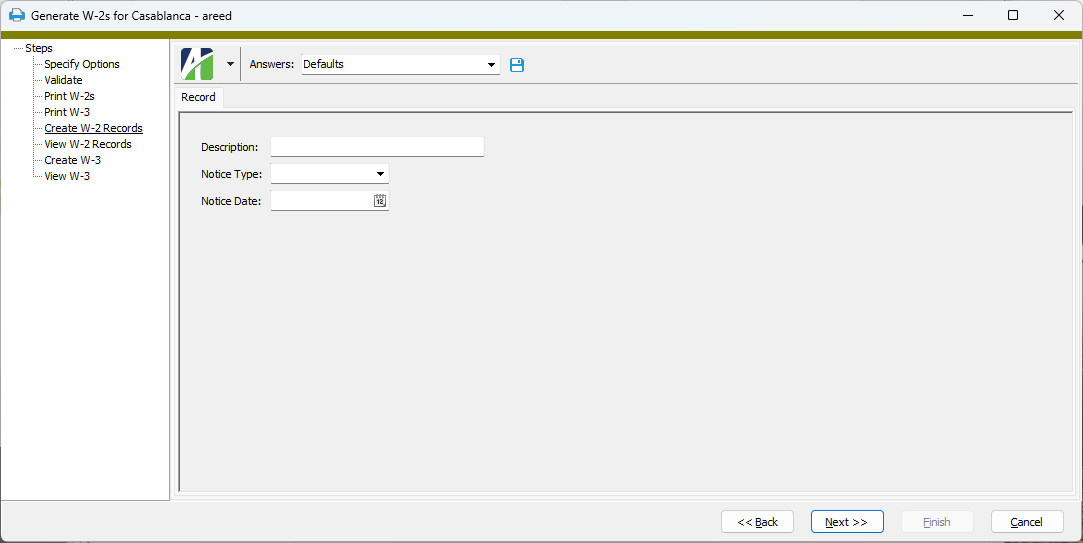
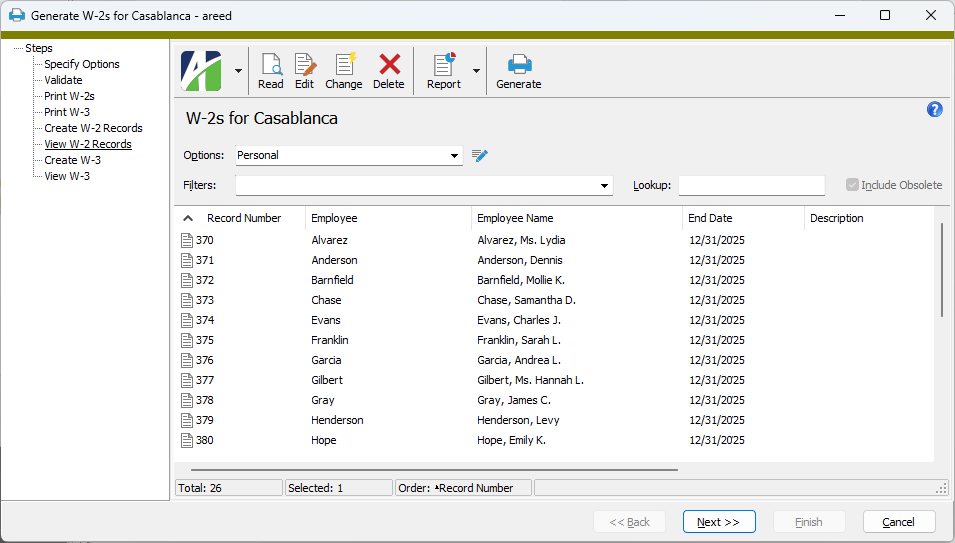
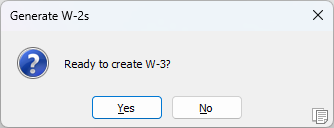
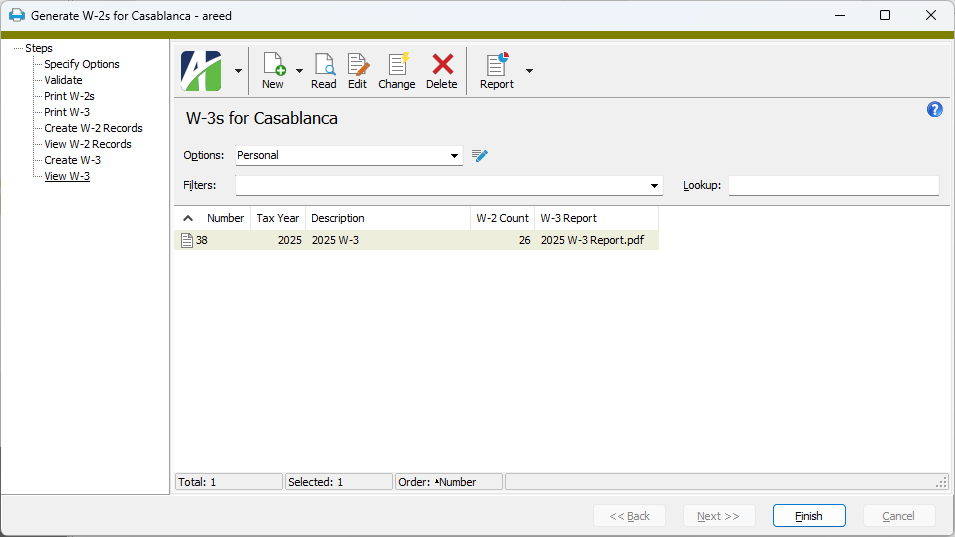
 > Edit > Generate W-2s.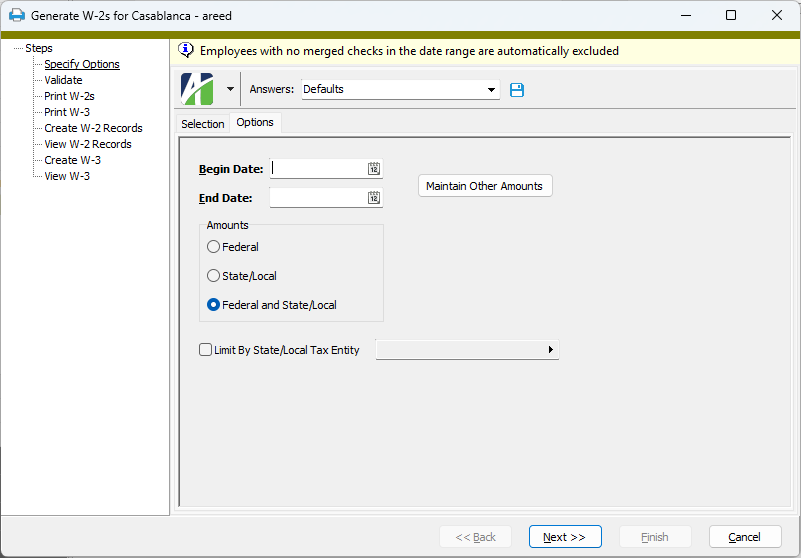
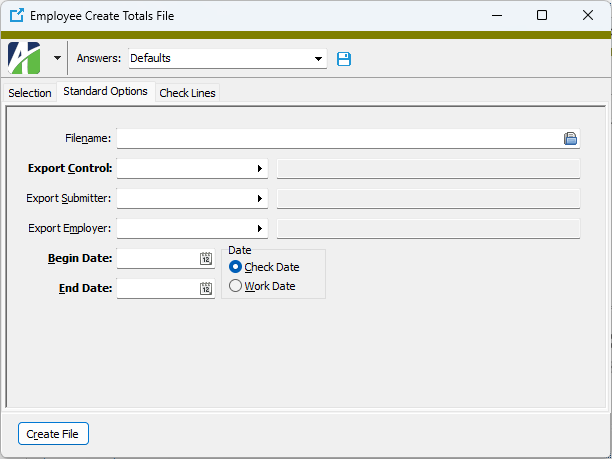
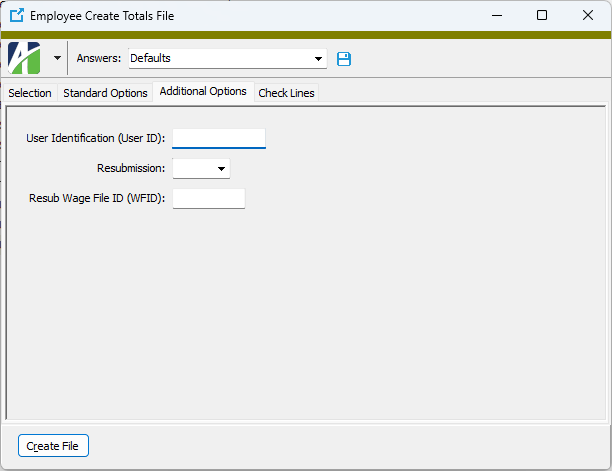
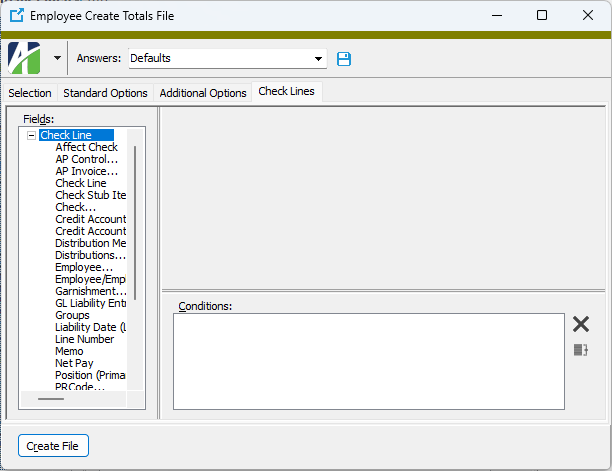
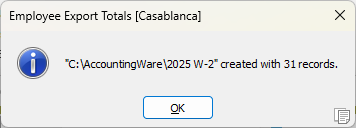
 and browse to and select the export control to import. Find SUTA export control files at ...\Extras\Payroll\Export Controls\State Unemployment\.
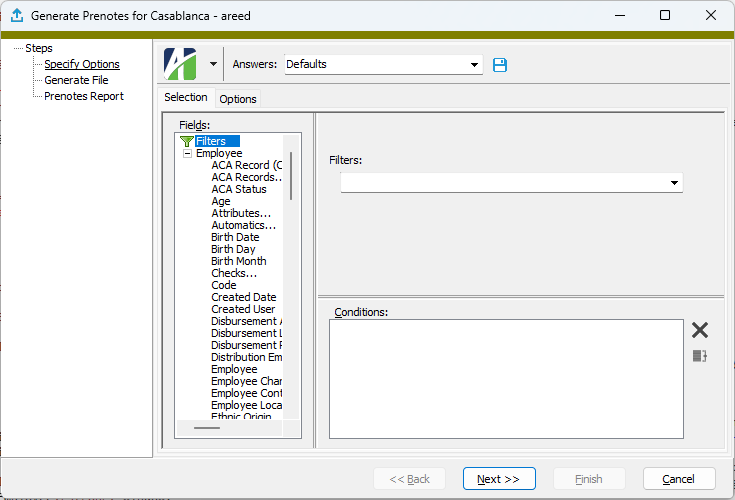
 , or open the employee record and select
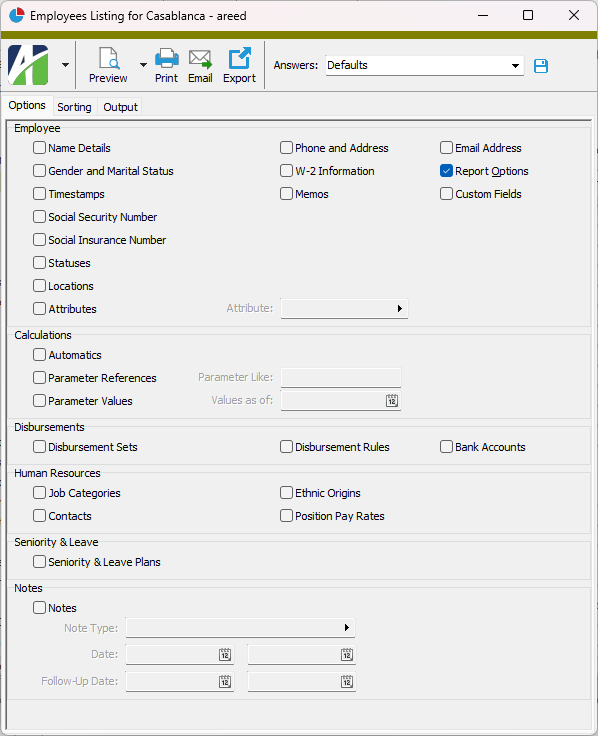
 and select Employees Listing from the drop-down menu.